IN THIS ARTICLE
How it works
When you change the sender email address that you're using, all emails and follow-ups in that campaign will be sent from the new address from that point. The previous sender, as well as the previous signature, will be visible in the attached thread when sending follow-ups.
You can use one of the email addresses that you have already connected to Woodpecker, or add a new one.
Changing the sender address in a campaign
To change the sending email address in your campaign, you need to:
Open your campaign from the Campaigns list.
Click "Edit" in the upper right corner.
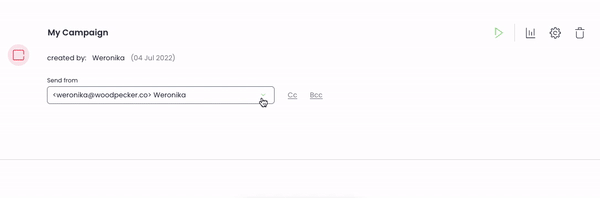
Click the field "send from:" and select the new mailbox.
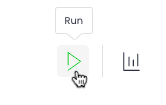
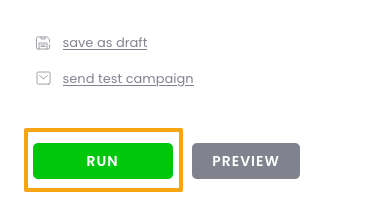
Click the "Run" button in the upper right corner to resume sending.
Important: Always set up automatic mail forwarding when changing the sending email address; any incoming messages should be forwarded to the new mailbox.
Otherwise, Woodpecker will not know when a prospect replies to the old address, and more follow-ups will be sent from the new one!
Adding a new email address
You can add the new email address as a separate one, or simply replace the old mailbox with a new one.
Replacing the mailbox
To change your email address if you already have more connected, you can just select new ones from the dropdown list in the campaign, and deselect the one you don't want to use as a sender in that campaign anymore.
After doing so, resume sending in the active (running) campaigns. There are two options:
• Click the "Run" icon in the top right corner of your campaign.
• Use the "Send" button in your campaign summary.
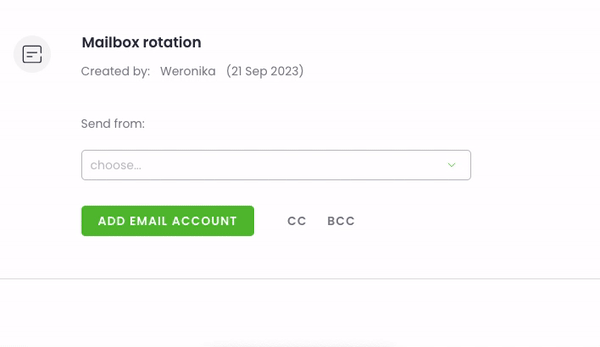
Inbox Rotation
With the Inbox Rotation feature, you can add multiple mailboxes to a campaign so that in case one of them needs to be removed, there's going to be another one to pick up the send to the rest of the prospects.
Make sure that the mailboxes are active in slots and add them when creating or editing the campaign. Read more about Inbox Rotation in this article »